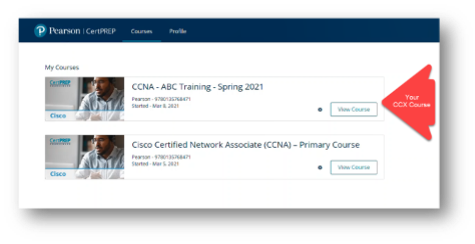
Familiarize yourself with the Pearson CertPREP Courseware platform. The tabs and features that you will see within the platform depend both on what type of course you are in (CCX Course vs. Primary Course) and your role for that course (CCX Coach, Staff, or Learner).
Within a CCX Course
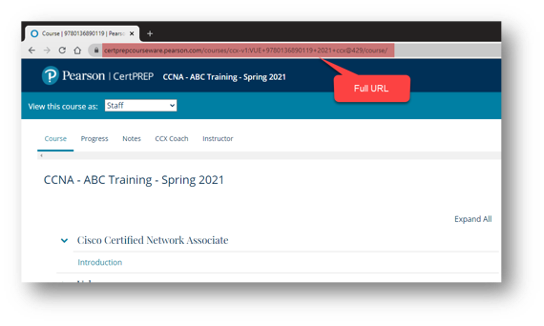
Course tab
This tab will appear for everyone.
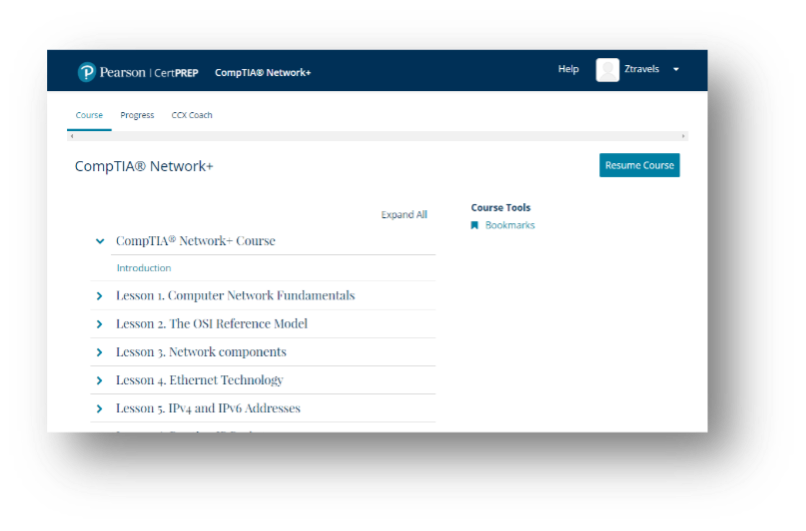
The Course tab displays the table of contents for your course. When clicking on one of the section types below, you will be able to access content or link to material hosted on other platforms but included in the course.
Course introduction: Begin here with a course description and welcome, an overview of the benefits to becoming certified, and navigation tips for the platform.
Lessons: Expand each lesson to display and link directly to the subsections.
Lab Library: Access the hands-on labs associated with each course in this section.
Practice Exam: Launch the MeasureUp practice exam for the course from this page.
Get Certified!: Learn how to schedule and take the official certification exam associated with this course.
Course Video Library: Access a library of all the video assets used in the course.
Instructor Resources: Download resources such as the instructor slide decks and the course syllabus/outline.
Glossary (some courses): Defines key terms used throughout the course. (not pictured)
 Progress tab
This tab will appear for everyone.
Progress tab
This tab will appear for everyone.
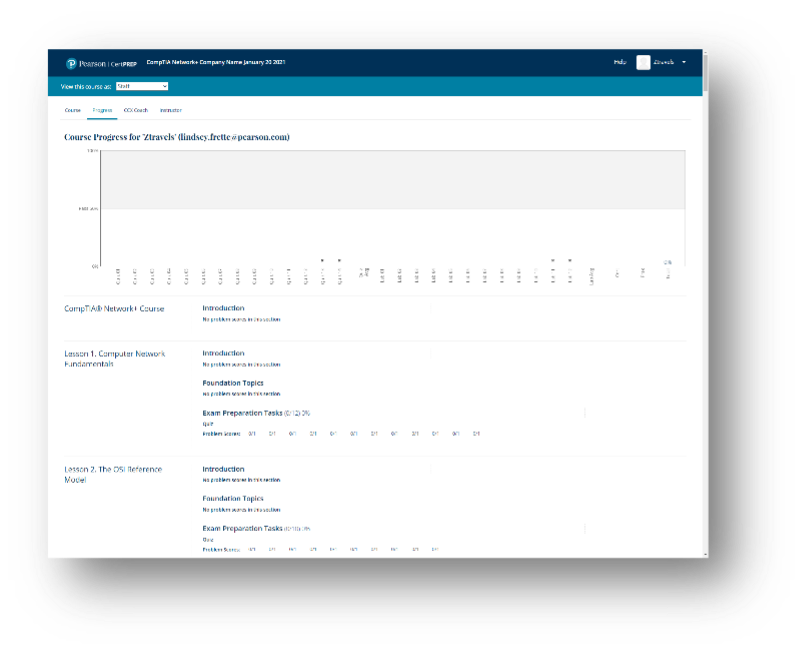
The
Progress tab provides the user with information about their progress in the course. Links are embedded in the results so the user can jump to where that topic is covered in the course.
 CCX Coach tab (admin tools)
This tab is only available to the CCX Coach.
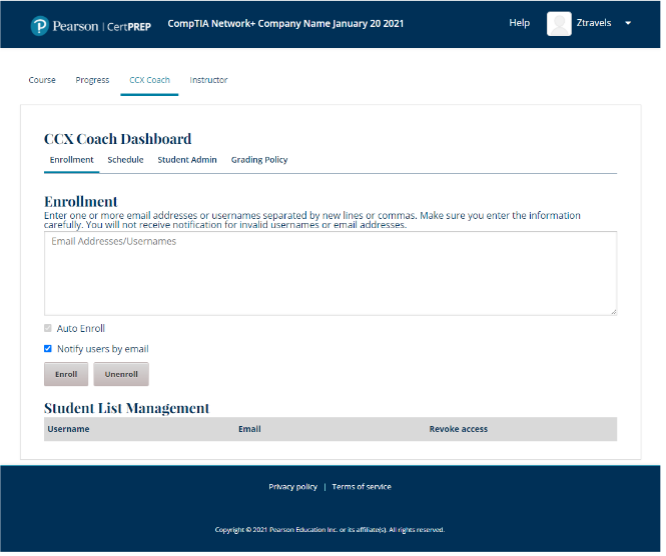
Enrollment:
CCX Coach tab (admin tools)
This tab is only available to the CCX Coach.
Enrollment: Enroll additional students in this CCX Course. By typing in their email address and clicking “enroll”, an email will be generated inviting the student to the course.
Note: Make sure you’ve purchased a license to the course material for each student you enroll. Purchase additional licenses in the mindhub Pro store.
Schedule: As described above, this is where you add all units to the course. You do have the ability to edit the units that appear to your students, but we do not recommend it.
Student Admin: View or download the gradebook for students enrolled in your course.
Grading Policy (Advanced): Do not edit this section unless you with grading policy formulas in the past.
 Instructor tab (Instructor Tools)
This tab will appear only to CCX Coaches and Staff/Instructors.
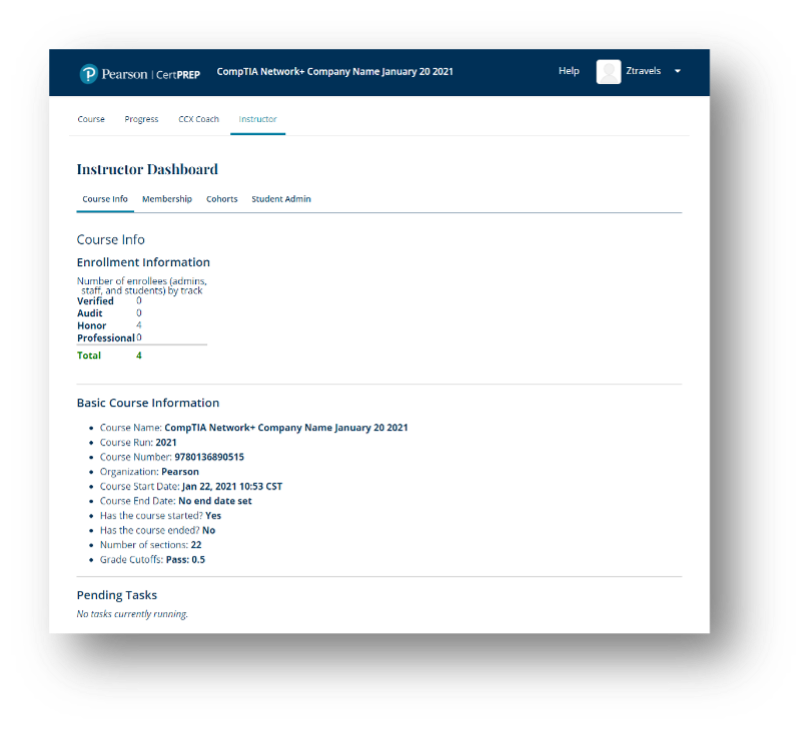
Course Info:
Instructor tab (Instructor Tools)
This tab will appear only to CCX Coaches and Staff/Instructors.
Course Info:
- Course Name: The CCX Course title that is visible to students. This cannot be changed.
- Course Run: Specified when you create the course. Becomes part of the course URL and cannot be changed.
- Course Number: Specified when you create the course. Becomes part of the course URL and cannot be changed.
- Organization: Specified when you create the course. Becomes part of the course URL and cannot be changed.
- Course Start Date: The date and time that the course is scheduled to start.
- Course End Date: The date and time that the course is scheduled to end.
- Has the course started?: Derived from the Course Start Date value and the current date.
- Has the course ended?: Derived from the Course End Date value and the current date.
- Number of sections: The total number of sections created for the course. Includes all course sections, regardless of publication status, release date, or other settings that affect whether learners have access to the sections.
- Grade Cutoffs: Specified when you define the cutoff for a failing grade. Learners who earn exactly the cutoff value pass the course.
Membership:
The Membership section on your dashboard allows you to enroll additional learners to your course as well as enroll course staff that may be assisting in the delivery of the course.
Using Batch Enrollment
- Within a CCX Course, select Instructor and then select Membership.
- In the Batch Enrollment section of the page, enter the username or email address of the learner, or enter multiple names or addresses separated by commas or new lines.
You can copy and paste data from a CSV file of email addresses. Please note: This feature is better suited to courses with smaller enrollments than courses with massive enrollments.
-
For Role of the users being enrolled:
- If the learner is a member of the course staff, select Partner.
- If the learner is not a member of the course staff, select Learner.
Note: All the users that you enroll at one time must have the same role. If you have some users who are Partners and others who are Learners, you must complete two batch enrollments.
- To streamline the course enrollment process, leave Auto Enroll checked.
- To automatically send learners an email message, leave Notify students by email checked.
- Click Enroll.
 Cohorts:
 This feature is disabled.
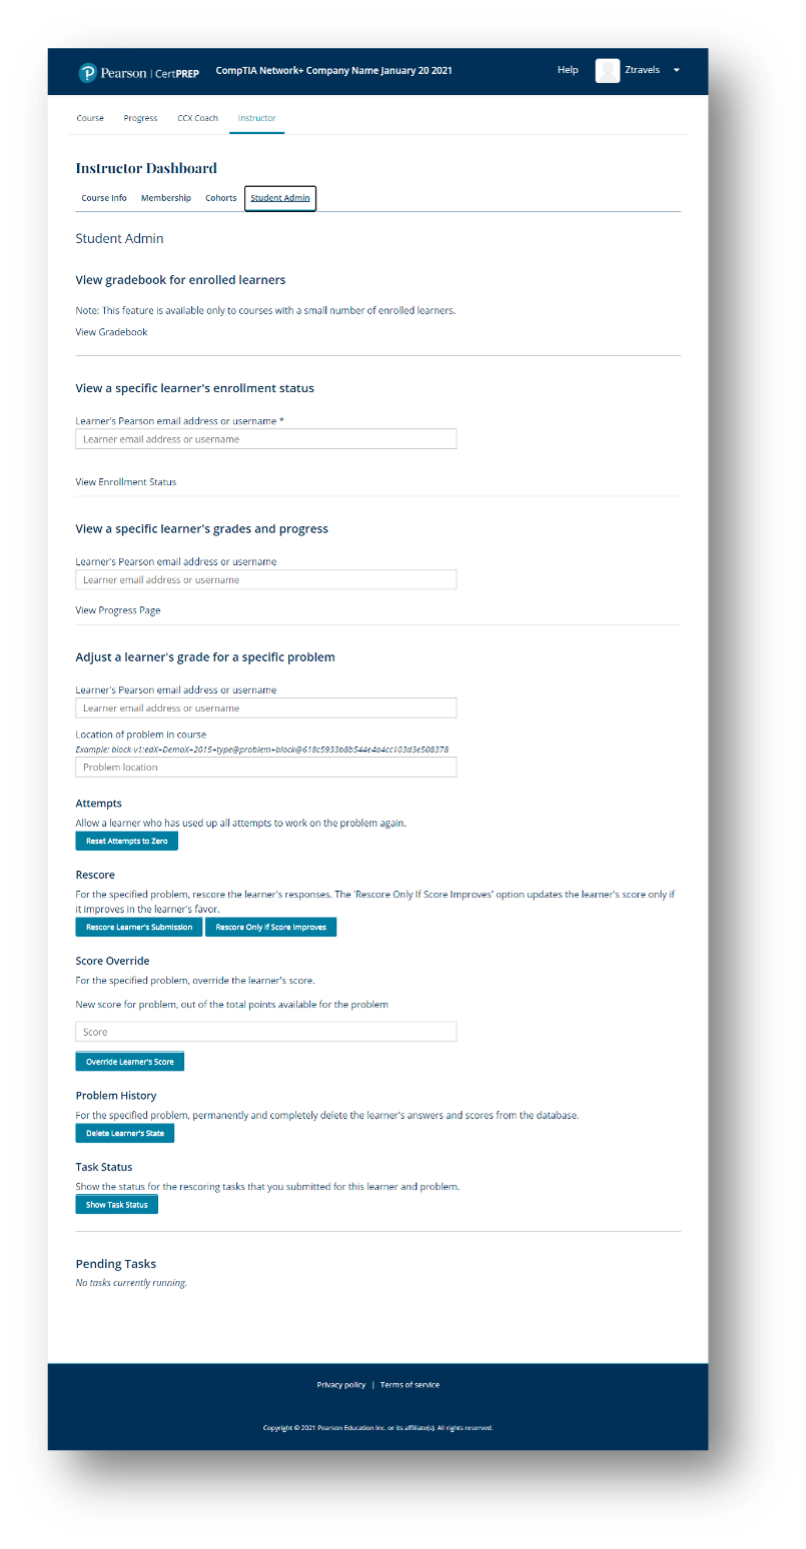
Student Admin: View gradebook for enrolled learners: See the number of times a student has attempted each graded activity in the course.
View a specific learner’s enrollment status: Verify a student’s enrollment status by email or username.
View a specific learner’s grades and progress: Verify a student’s grades and progress by email or username.
Adjust a learner’s grade for a specific problem: Manually adjust a student’s score on a specific graded item.
To adjust a grade:
- Enter a student’s email or username.
- Provide the location of the problem using the example above the text box.
-
Choose one or more of the following remedies:
- Attempts: Reset the number of attempts on the graded item to zero.
- Rescore: Rescore the submission or rescore only if score improves.
- Score Override: Assign a new score for the problem.
- Problem History: Delete the learner’s answers and scores from the database.
- Task Status: Show the status of any rescoring action you’ve previously taken.
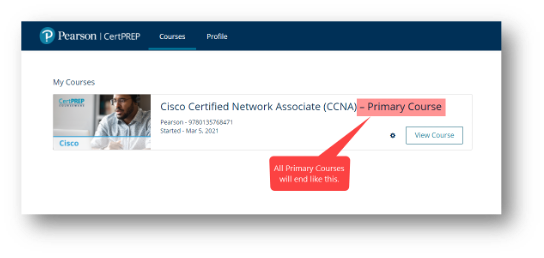
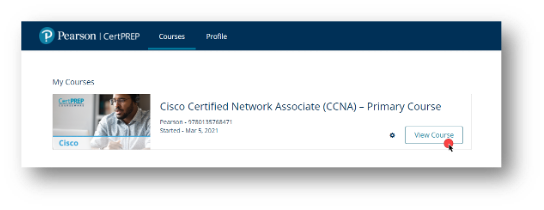
Within a Primary Course
The Primary Course navigation tabs look similar to the CCX Course navigation, but the functionality is limited to creating new CCX Courses.
Course tab: Same functionality as CCX Course.
Progress tab: Same functionality as CCX Course.
CCX Coach tab: CCX Coach Dashboard: Create and name new/additional CCX Courses (classes).